
Every Brightspace course has a Kaltura Media Gallery to store and sort media just for that course. There are many ways to use the Media Gallery but in this post we will talk about easily adding ALL Kaltura media for your course to the Media Gallery.
If you embed a video in your Content area, you don’t have to go into the Media Gallery and add it there as well. You can set the video to automatically appear in the Media Gallery. This works for any Kaltura media embeds including in
- Content
- Announcements
- Discussions
- Assignment descriptions
- etc
This provides one more place for students to easily access the course content. Optionally, these media gallery videos can later be sorted into playlists
Enable automatic Media Gallery addition
This option has to be enable manually from the Media Gallery settings.
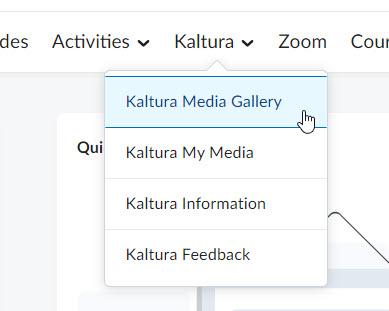
From you Brightspace course, click Kaltura in the main navigation and choose Kaltura Media Gallery from the dropdown menu.
In the Media Gallery, click the hamburger icon in the top right corner and choose Edit from the dropdown menu.

On the Edit details page, check the box next to Display embedded media in this Media Gallery and then click Save.

Any Kaltura media you have already embedded in the course will now show up in the Media Gallery. Any new embedded media going forward will also move into the Media Gallery.
If you uncheck this box, the automatically added videos will be removed and the Media Gallery will only show videos you have manually added.